Nerve and Tendon Transfers to Improve Upper Limb Function in Cervical Spinal Cord Injury

Awards
This animation won the following awards at the 2024 Association of Medical Illustrators Salon in the Student Motion & Interactive Media category:
• Student Best of Show
• Award of Excellence
Details
Individuals with cervical spinal cord injury value gaining independence as an important factor in considering treatment. Nerve transfer and tendon transfer surgeries are established in improving upper limb function, yet they are underutilized.
My Master's Research Project (MRP) is a 2D/3D hybrid animation that explains nerve transfer and tendon transfer surgeries for individuals with cervical spinal cord injury.
The main goal was to design a narrated animation that raises awareness of the treatments while tackling the following barriers: lack of resources online, low health literacy, and accessibility issues.
This MRP was completed as part of my Master of Science in Biomedical Communications degree at the University of Toronto.
Audience
Individuals with cervical spinal cord injury
Client
Prof. Marc Dryer (University of Toronto), Dr. Jana Dengler (Sunnybrook Health Sciences Centre), Dr. Shelley Wall (University of Toronto)
Software
Maya, Photoshop, Illustrator, After Effects, Premiere Pro
Medium
Online animated video
PRE-PRODUCTION
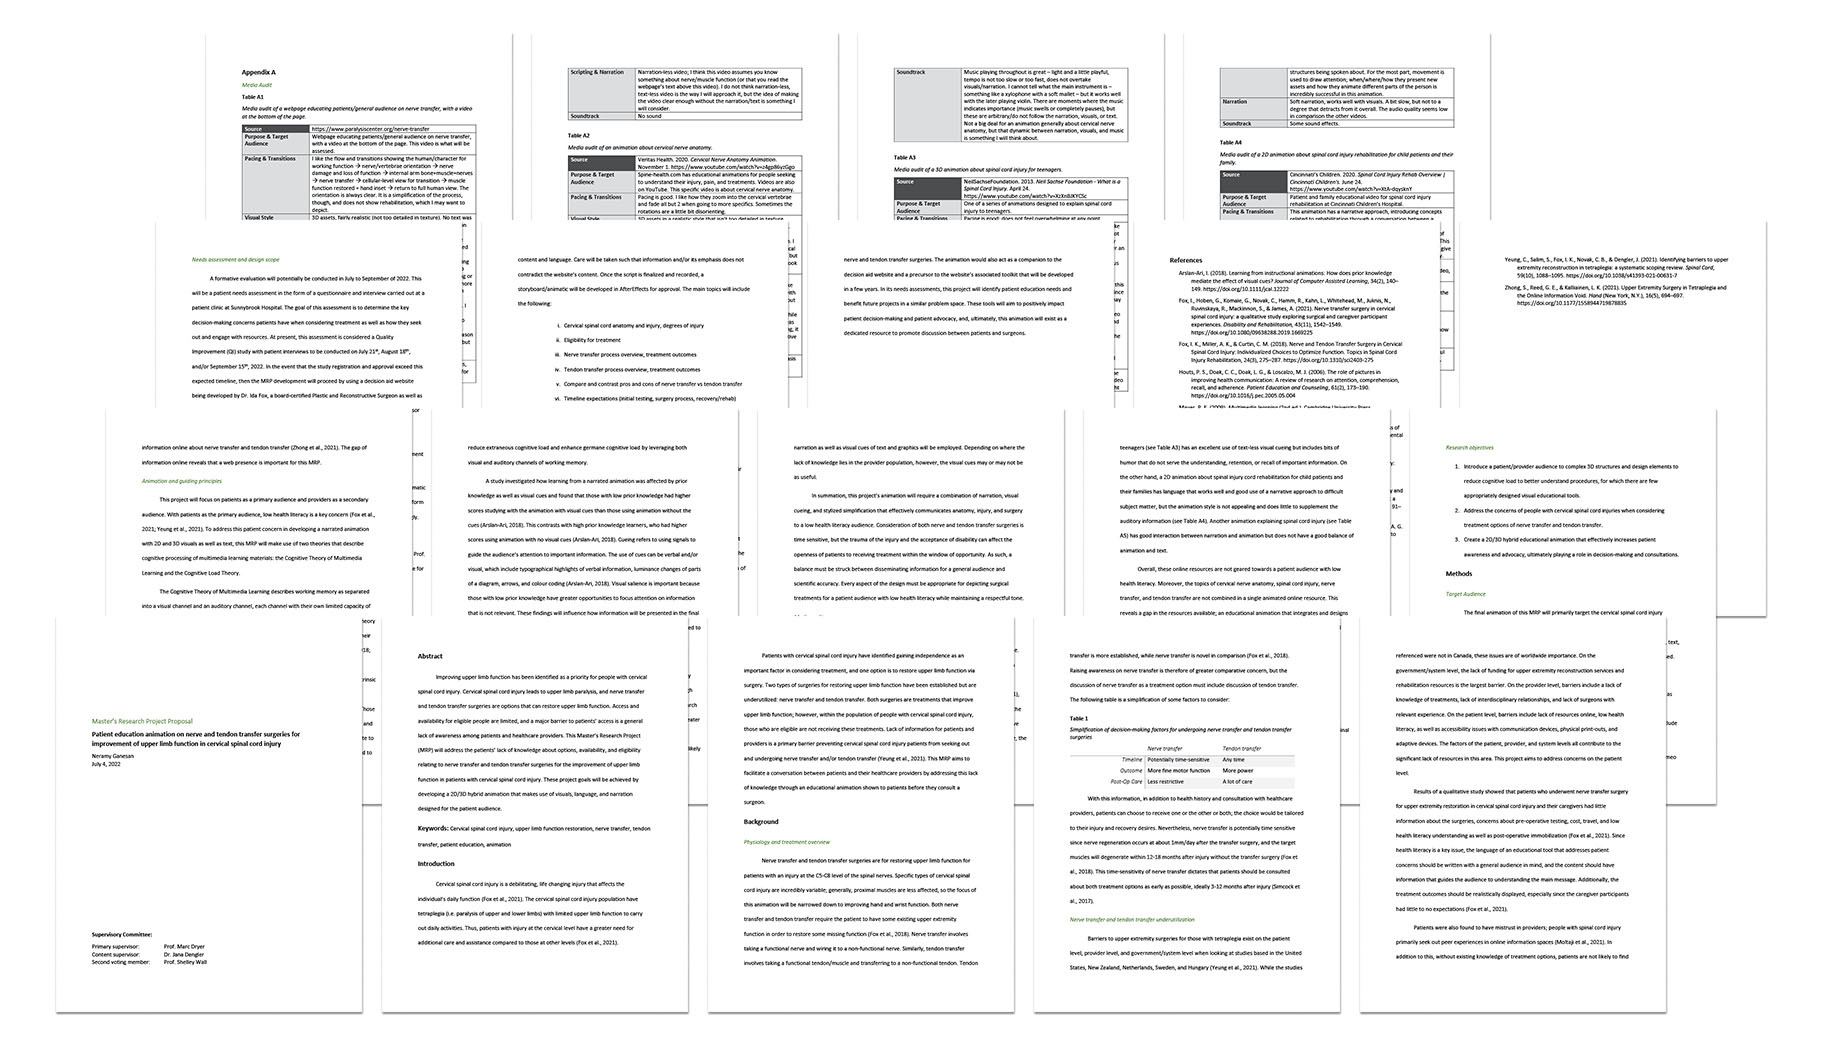
Research Proposal
With nerve transfer and tendon transfer treatments being underutilized, discussions with Dr. Jana Dengler quickly revealed that a dedicated online resource in the form of an animation was needed.
I outlined a research proposal that addressed barriers to receiving the treatments, guiding principles for animation, a media audit of related online materials, as well as goals and objectives of this project.
The main objectives are as follows:
• Introduce the audience to complex 3D structures
• Address concerns of people with cervical spinal cord injury when considering the treatments
• Create an animation that increases awareness and advocacy, playing a role in decision-making and consultations
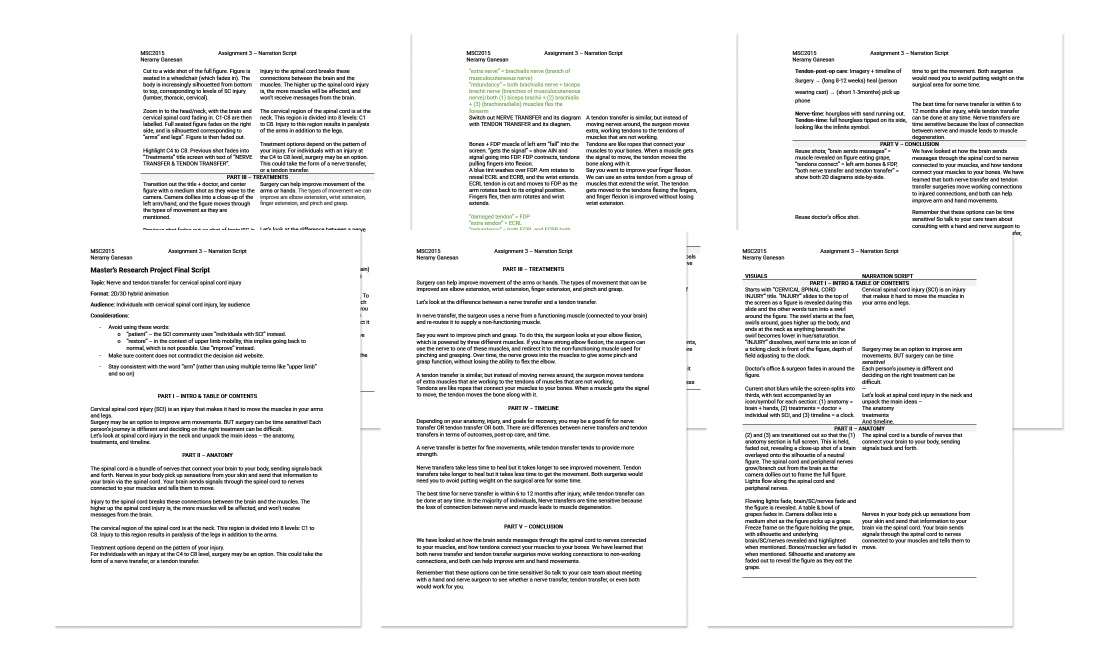
Script
After identifying the primary audience, medium, and goals, I developed the script with input from Dr. Dengler and revisions from the full committee. We decided to use clear language with a focus on scaffolding information and simplifying the concepts of nerve transfer and tendon transfer surgeries to the idea of "changing connections".
Ultimately, the animation was separated into three main sections: anatomy, treatments, and timeline. The anatomy and treatments sections were written to build the viewer's knowledge of the following order of connections: brain → spinal cord (+injury) → peripheral nerves → muscle/tendon group → bone.
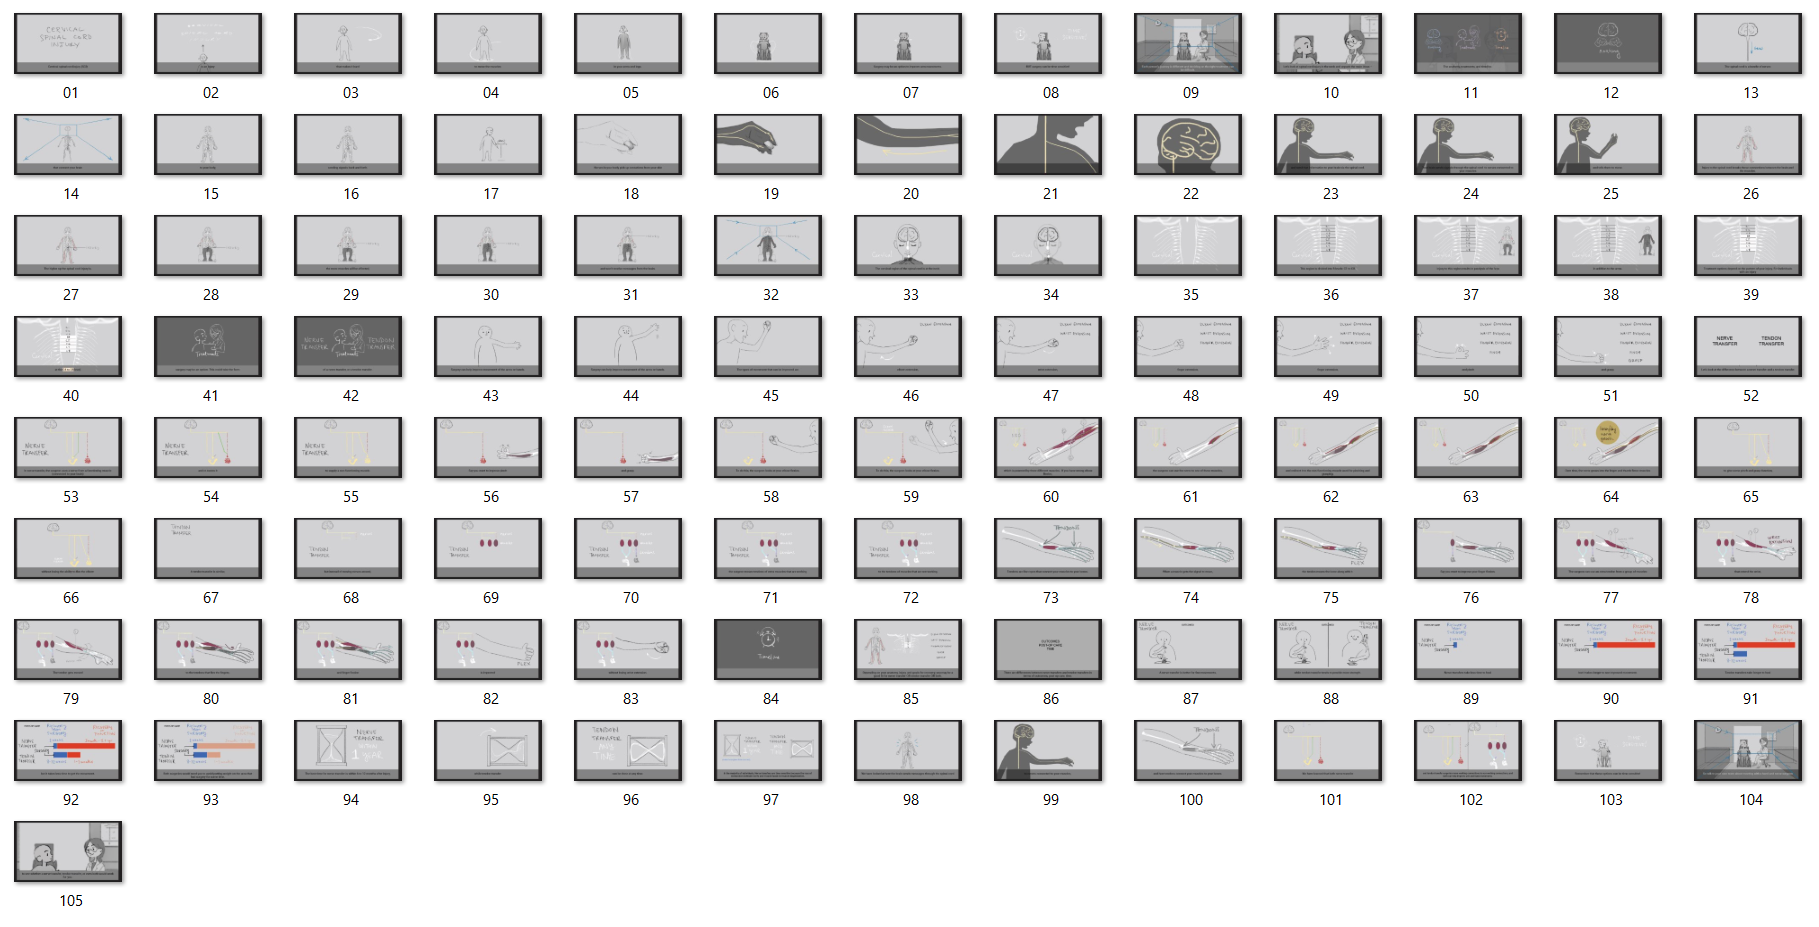
Storyboard
Since explaining surgical treatments to an essentially lay audience was at the core of this communication challenge, we decided on stylized, non-triggering, and approachable visuals that mix 2D and 3D elements.
After many iterations, we landed on using one main character as an audience proxy in exploring anatomy, injury, treatments, and outcomes.
Animatic
Using the storyboards and recorded scratch narration, I created an animatic to figure out timing and get feedback.
DESIGN & PRODUCTION
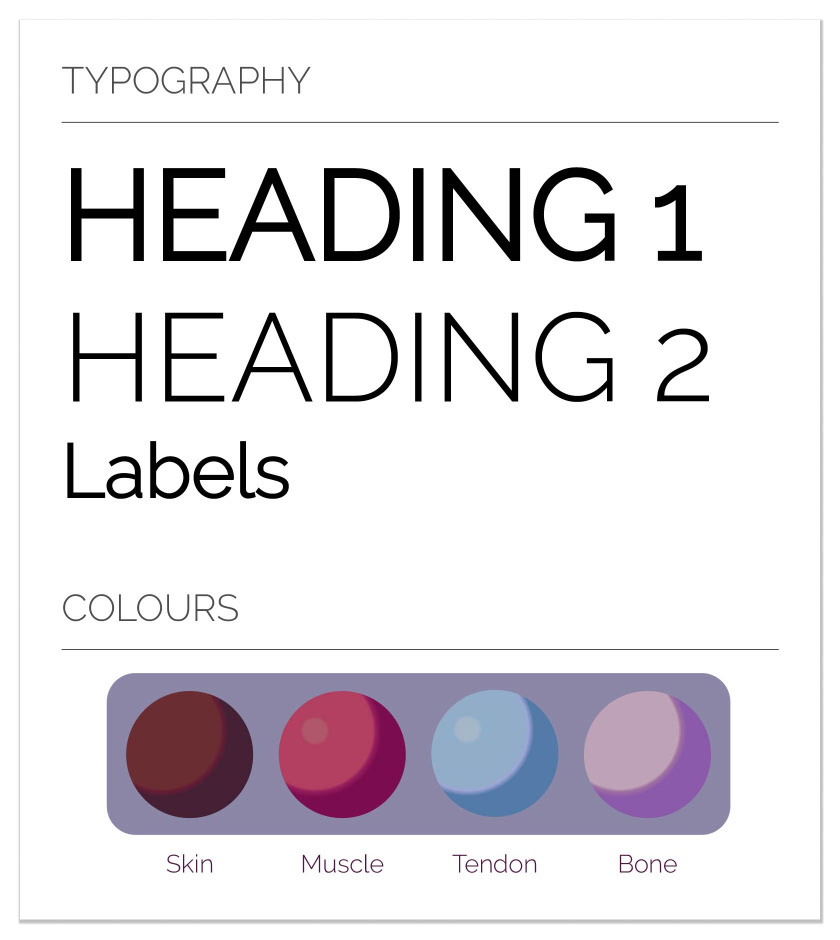
Style Guide
To merge the styles of 2D and 3D, I applied toon shaders to the 3D assets. With this stylized approach, I chose colours with conventional representations in mind to maintain audience understanding of different structures.
2D Diagrams
Dr. Dengler provided two examples of surgeries, and I simplified them to showcase the concepts of nerve transfer and tendon transfer surgeries. The goal was to show the changing connections while maintaining key anatomical relationships.
Below are motion concepts and final assets for the nerve transfer and tendon transfer diagrams.
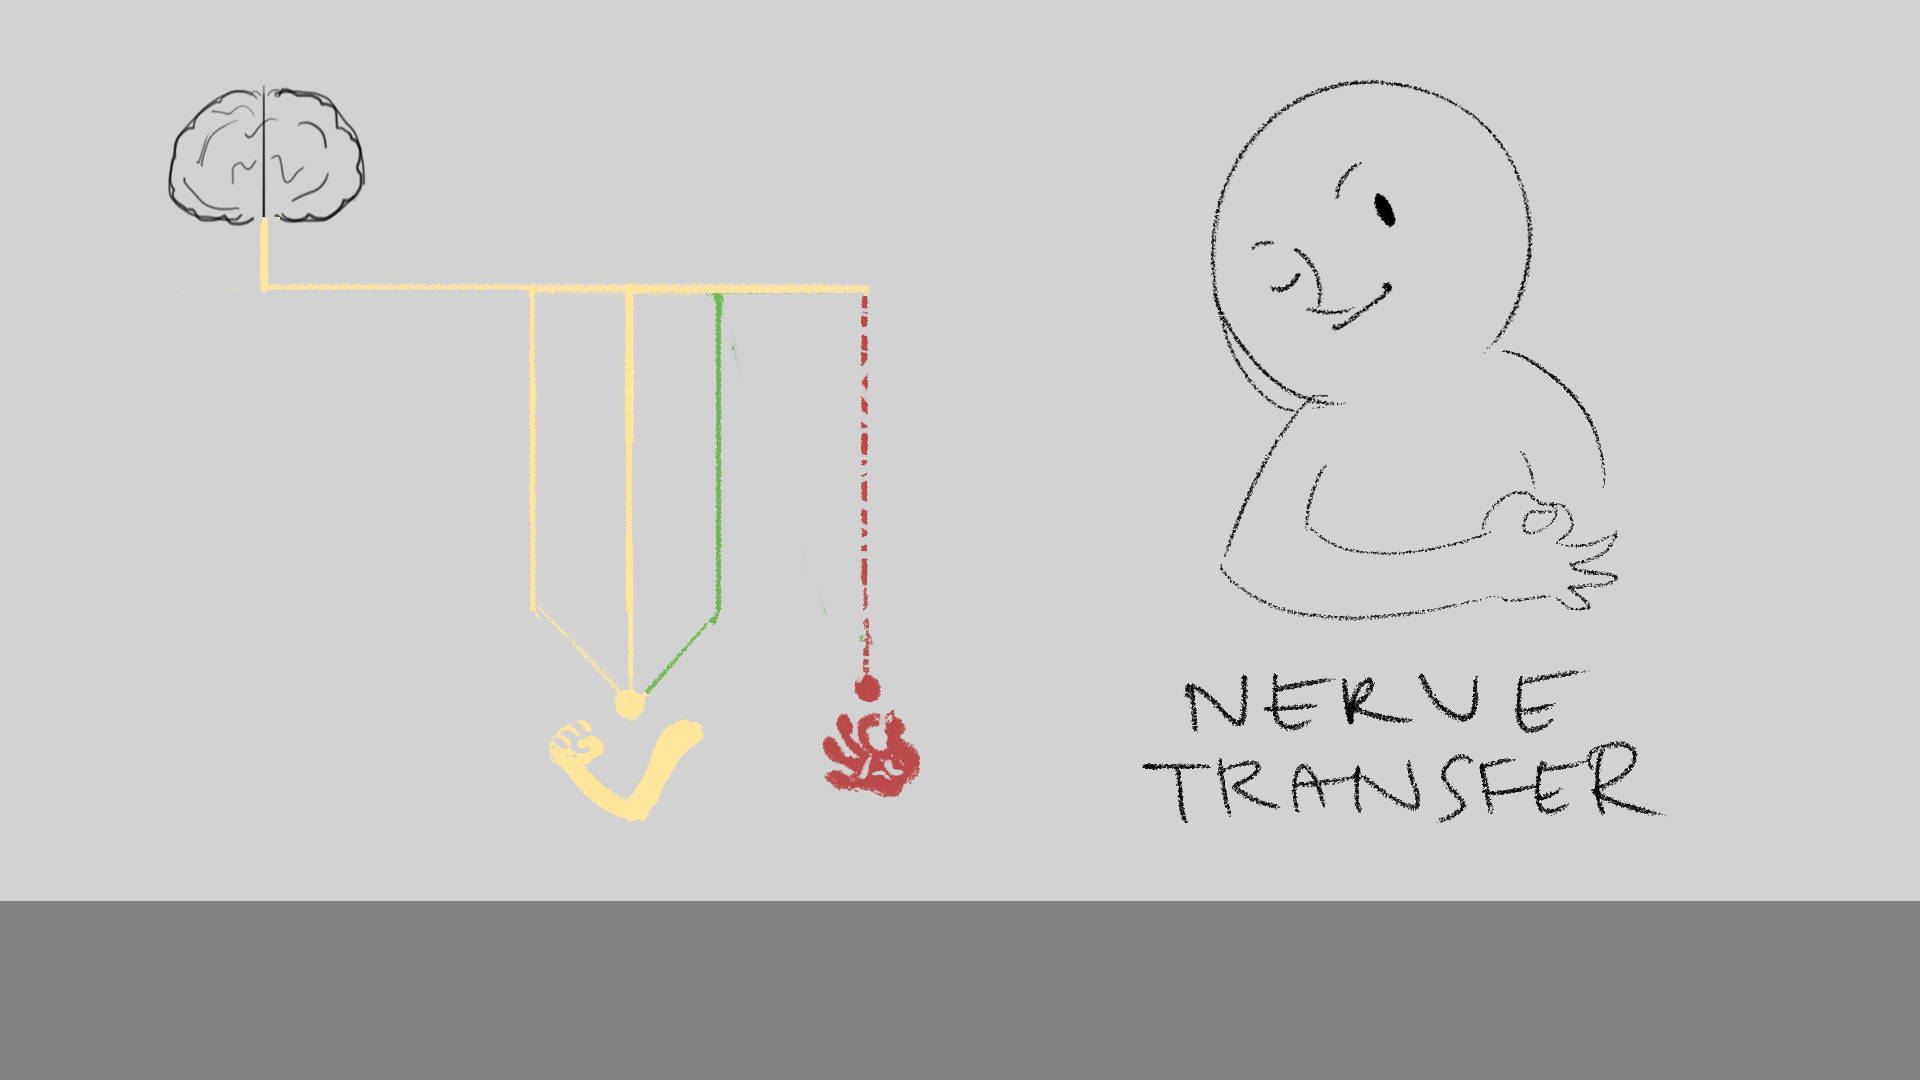
Step 1 - show working connections & non-working connection

Step 2 - the chosen working connection moves
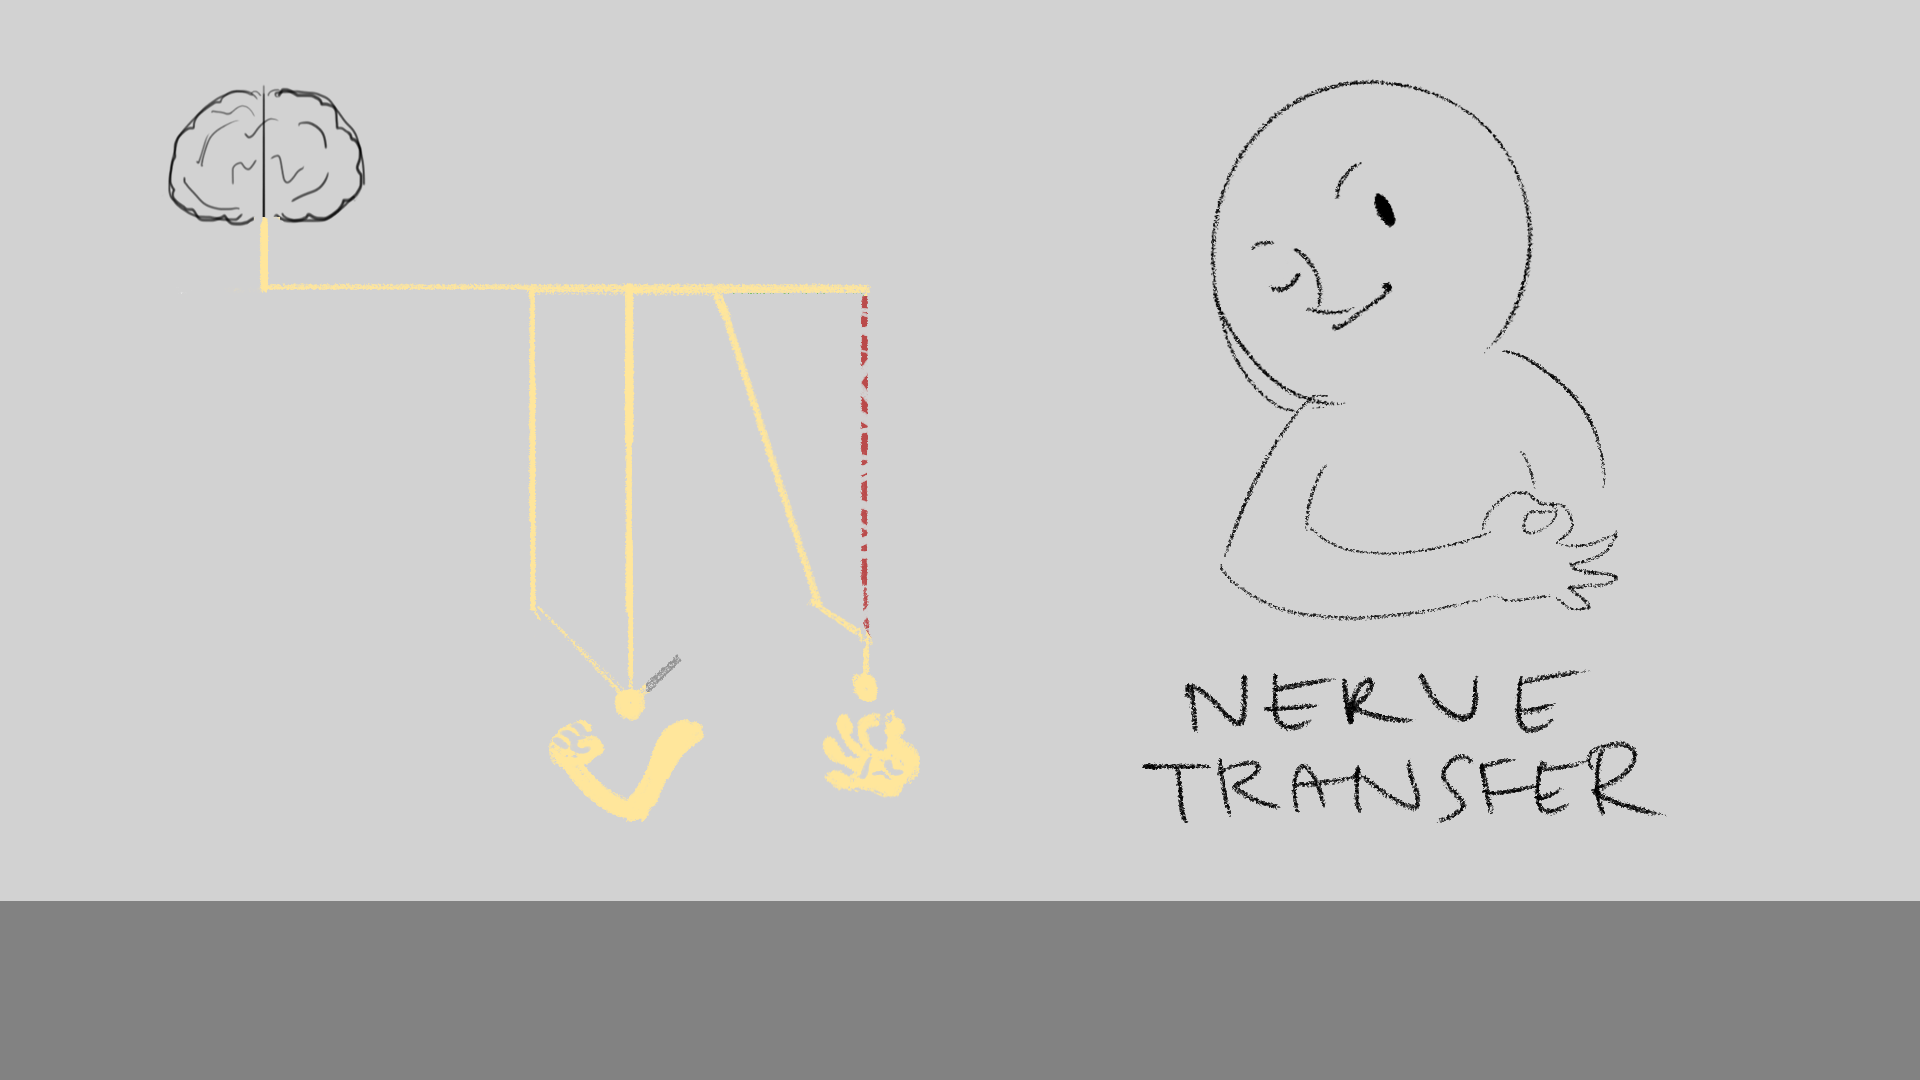
Step 3 - connection from brain to non-working function is established

Final Assets - revised colours and layout

Step 1 - show working connections & non-working connection
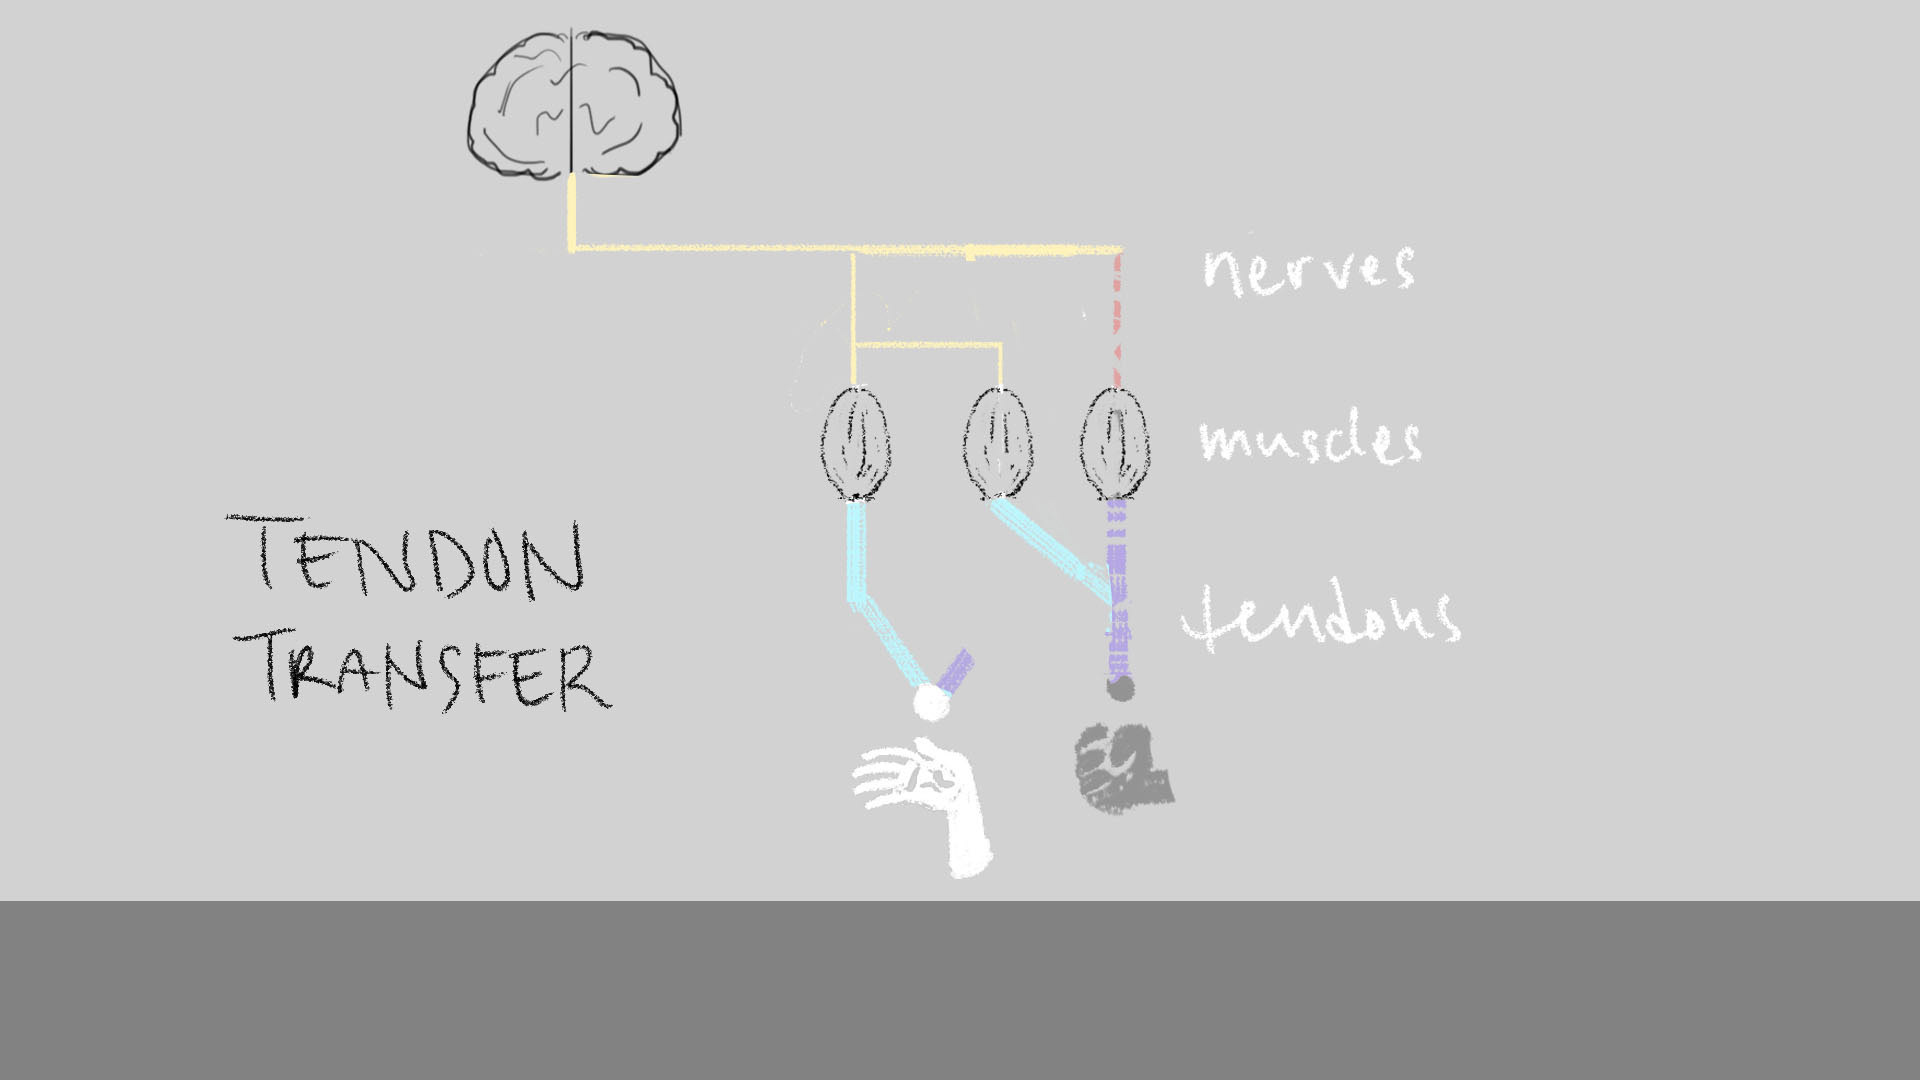
Step 2 - the chosen working connection moves

Step 3 - connection from brain to non-working function is established
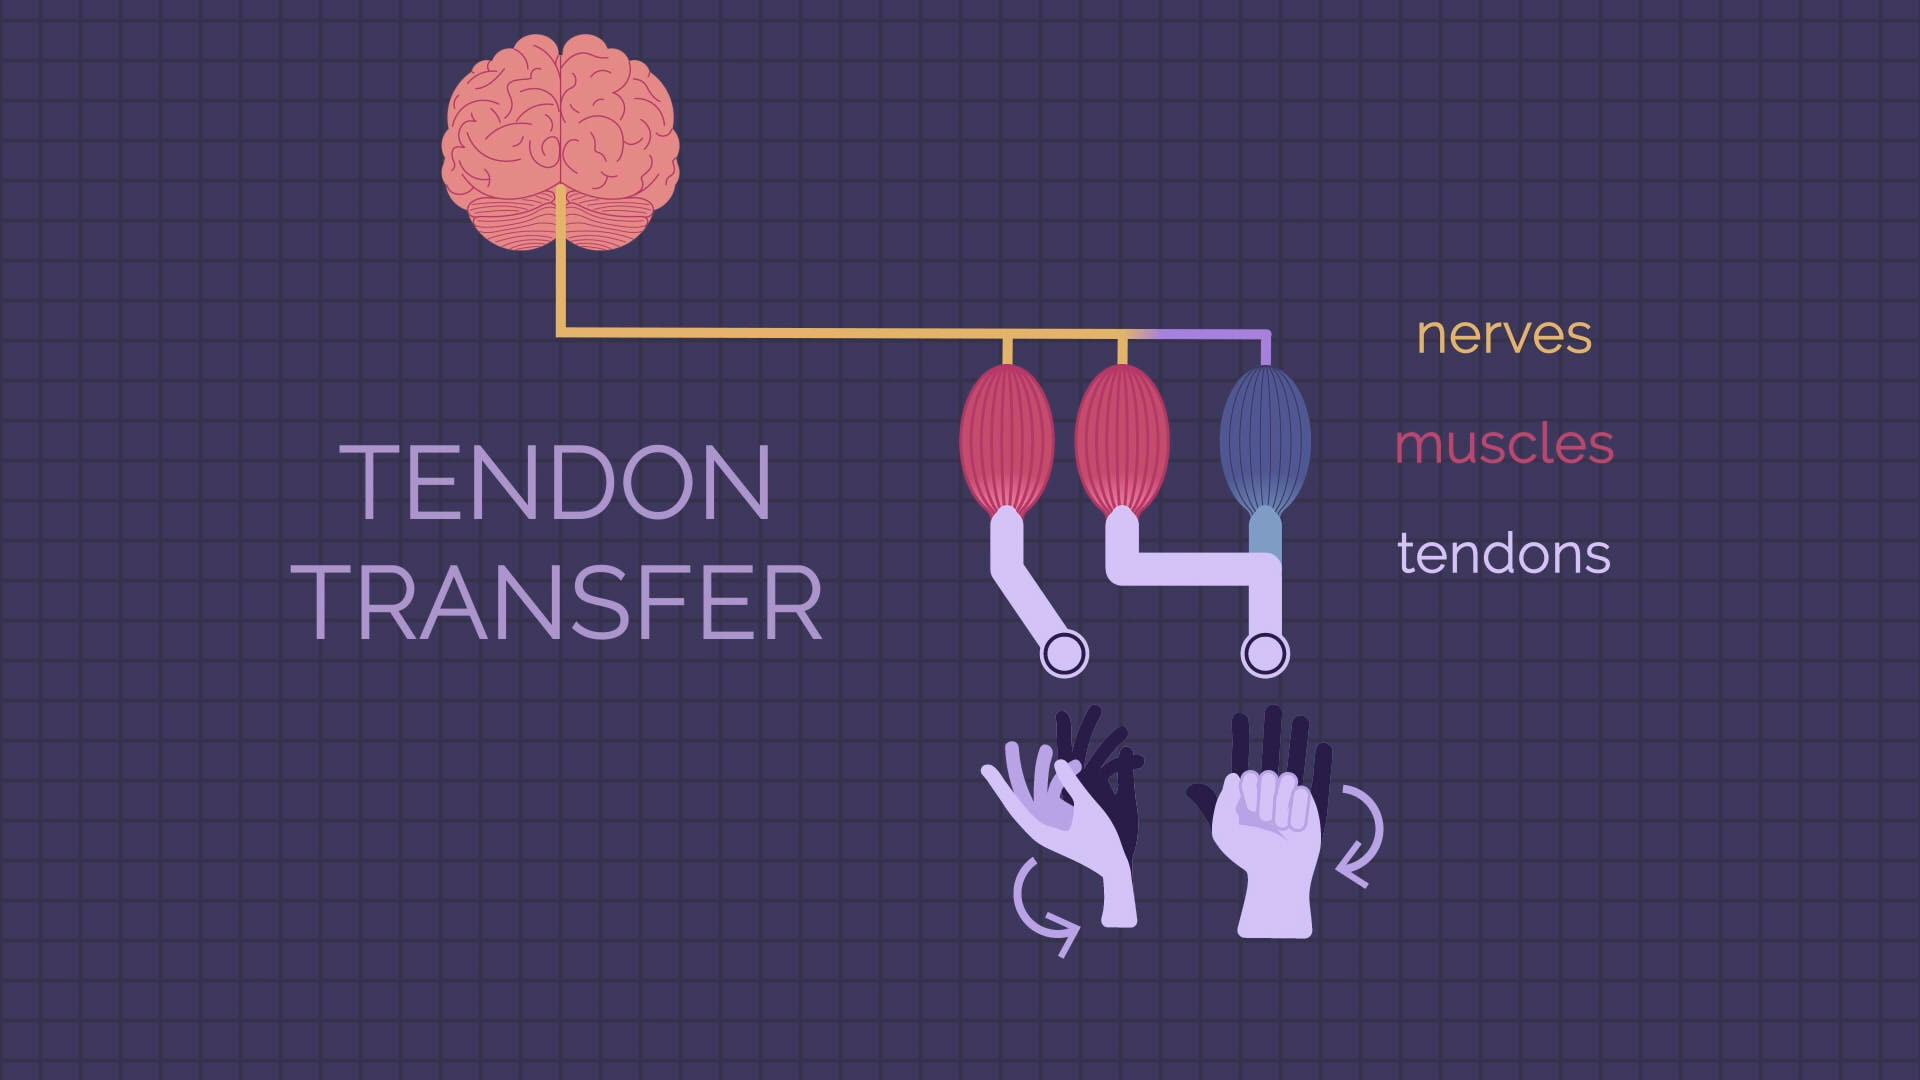
Final Assets - revised colours and layout
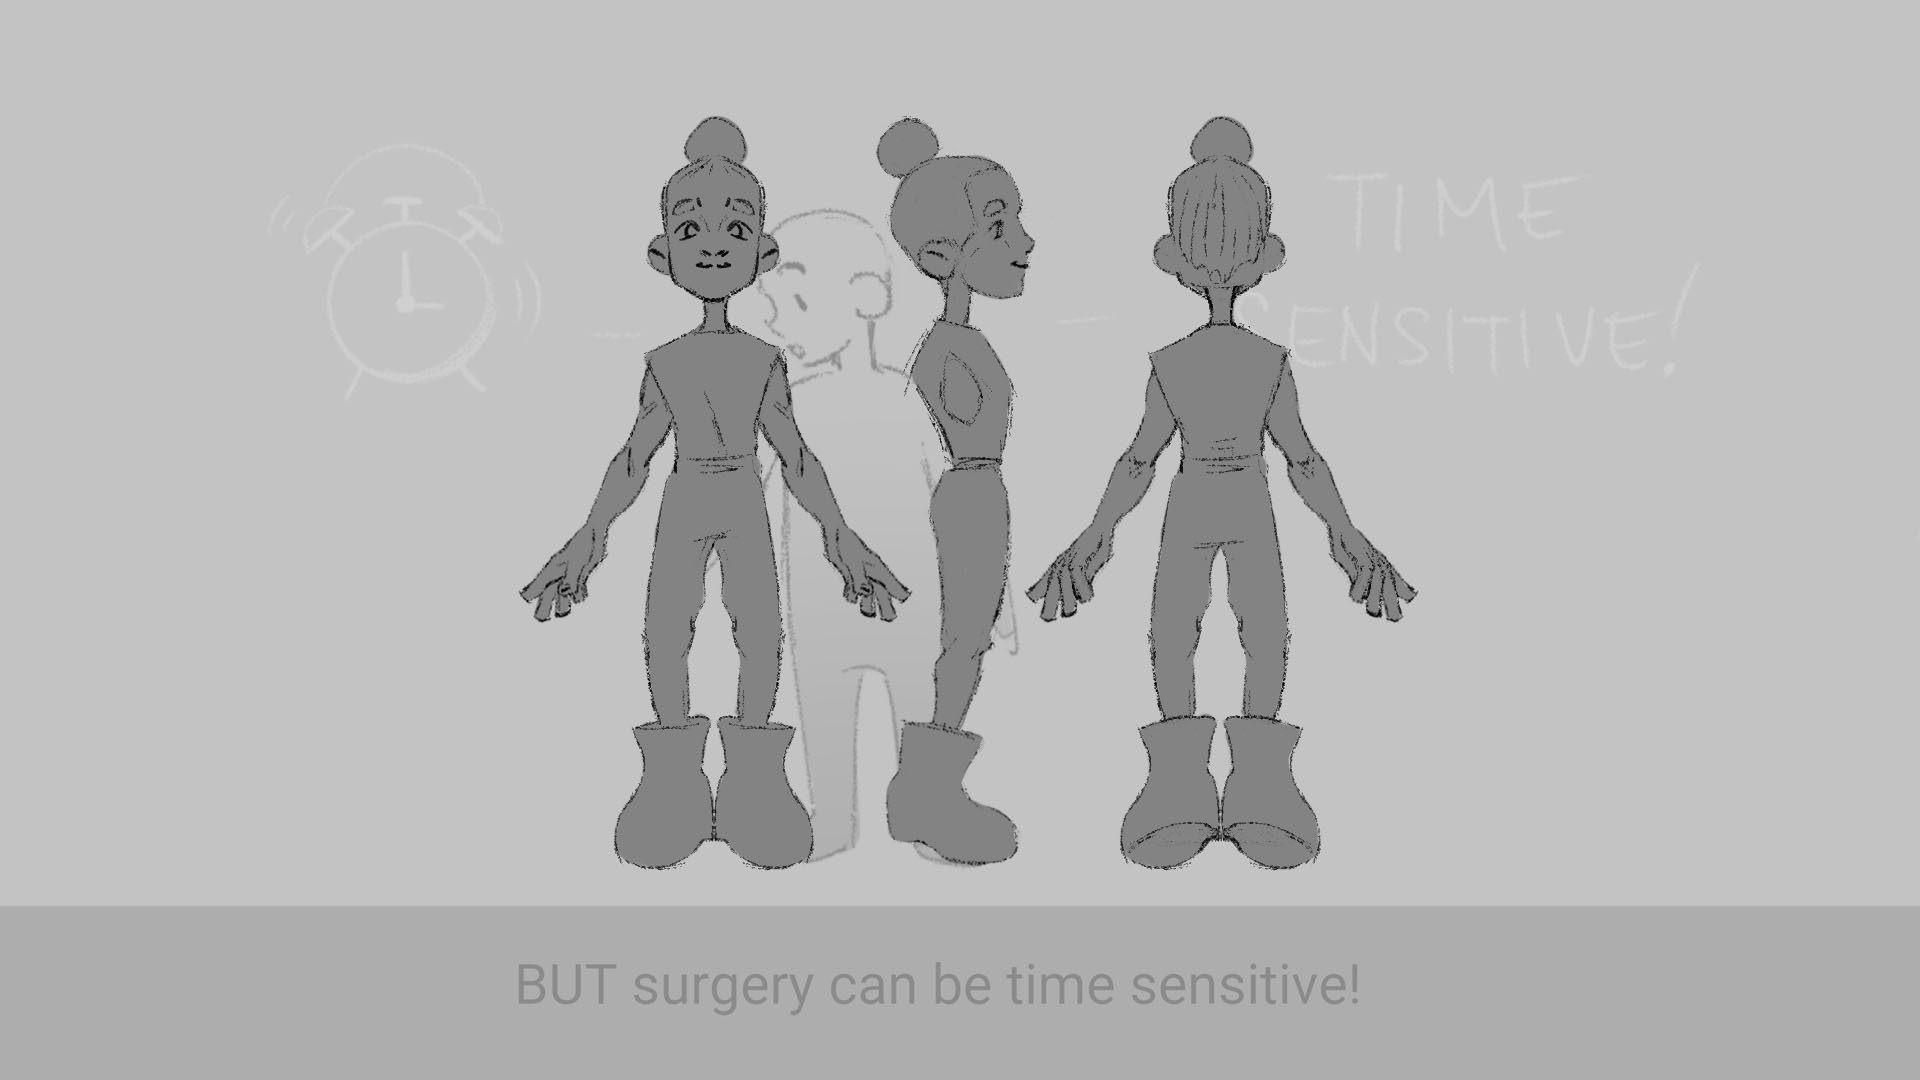
Character Creation
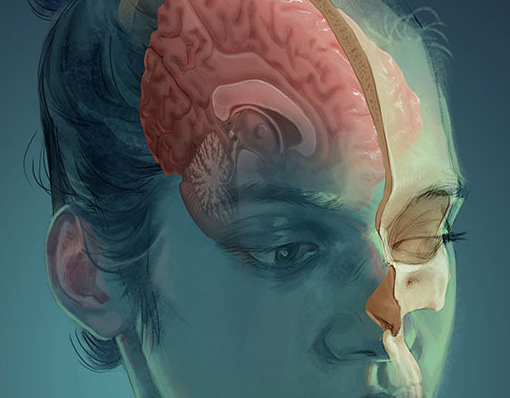
I created the character for 1920 x 1080 video and refined the design to better highlight relevant underlying anatomy; the head, neck, arms, and hands were designed to show the brain, cervical spinal cord, nerves, muscles/tendons, and bones.
Modelling was done in Maya.

Test model
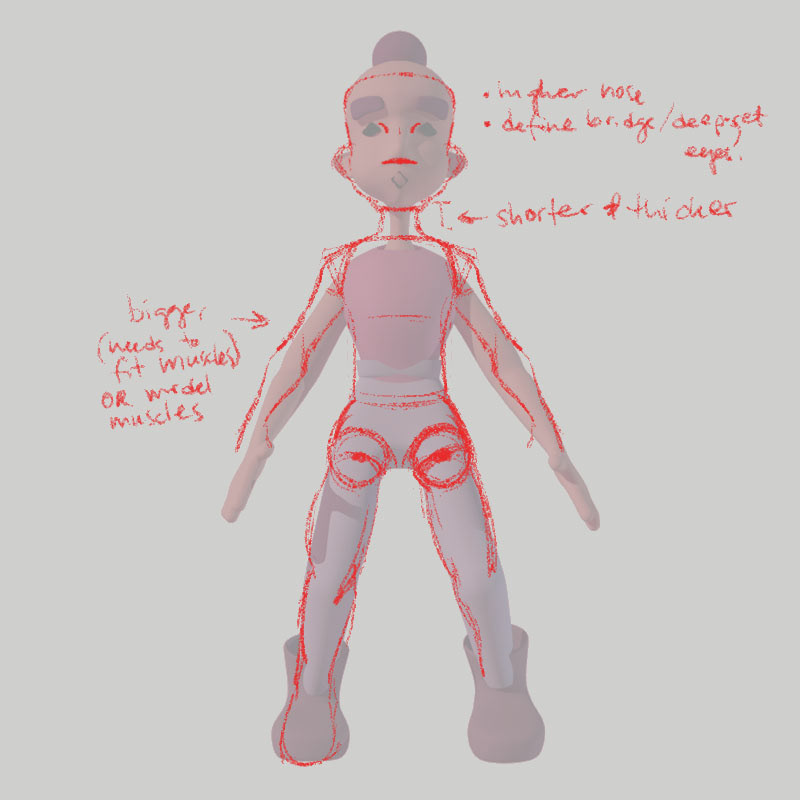
Notes for revisions
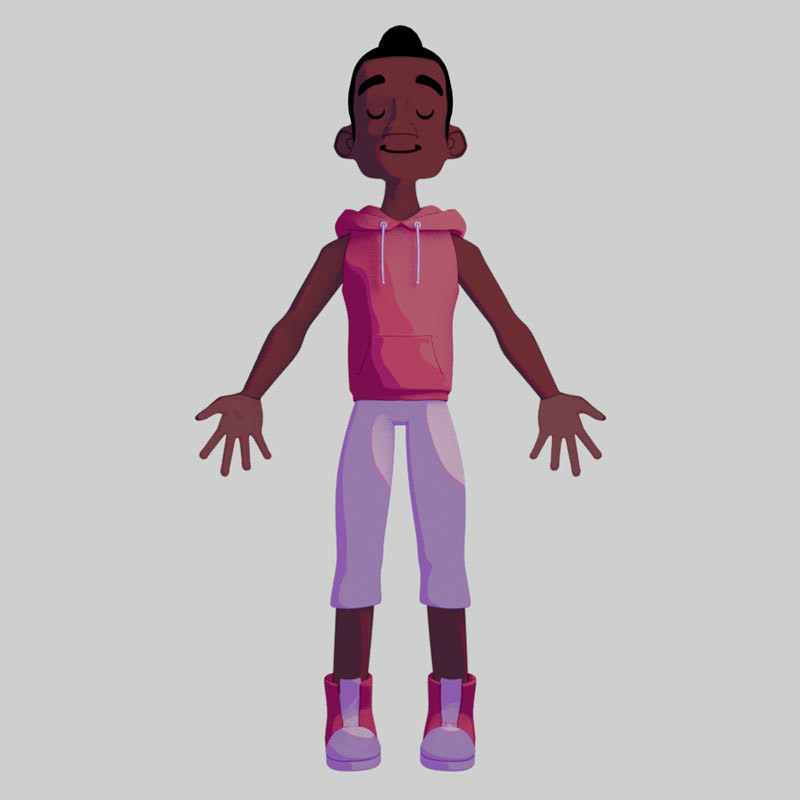
Final model (render with toonshader applied)
Rigging & Animation
To understand the workflow, I rigged and animated a basic test model. I learned the importance of painting skin weights in this process and applied this knowledge to the final rigs.
I then developed an updated character model and rig. This new rig's arm movement was not sufficient, so I rigged the character's left arm separately from scratch with the skeletal bones and muscles moving along with it (i.e. the controls for the shoulder, elbow, wrist, and finger joints moved the arm, bone, and muscle models).
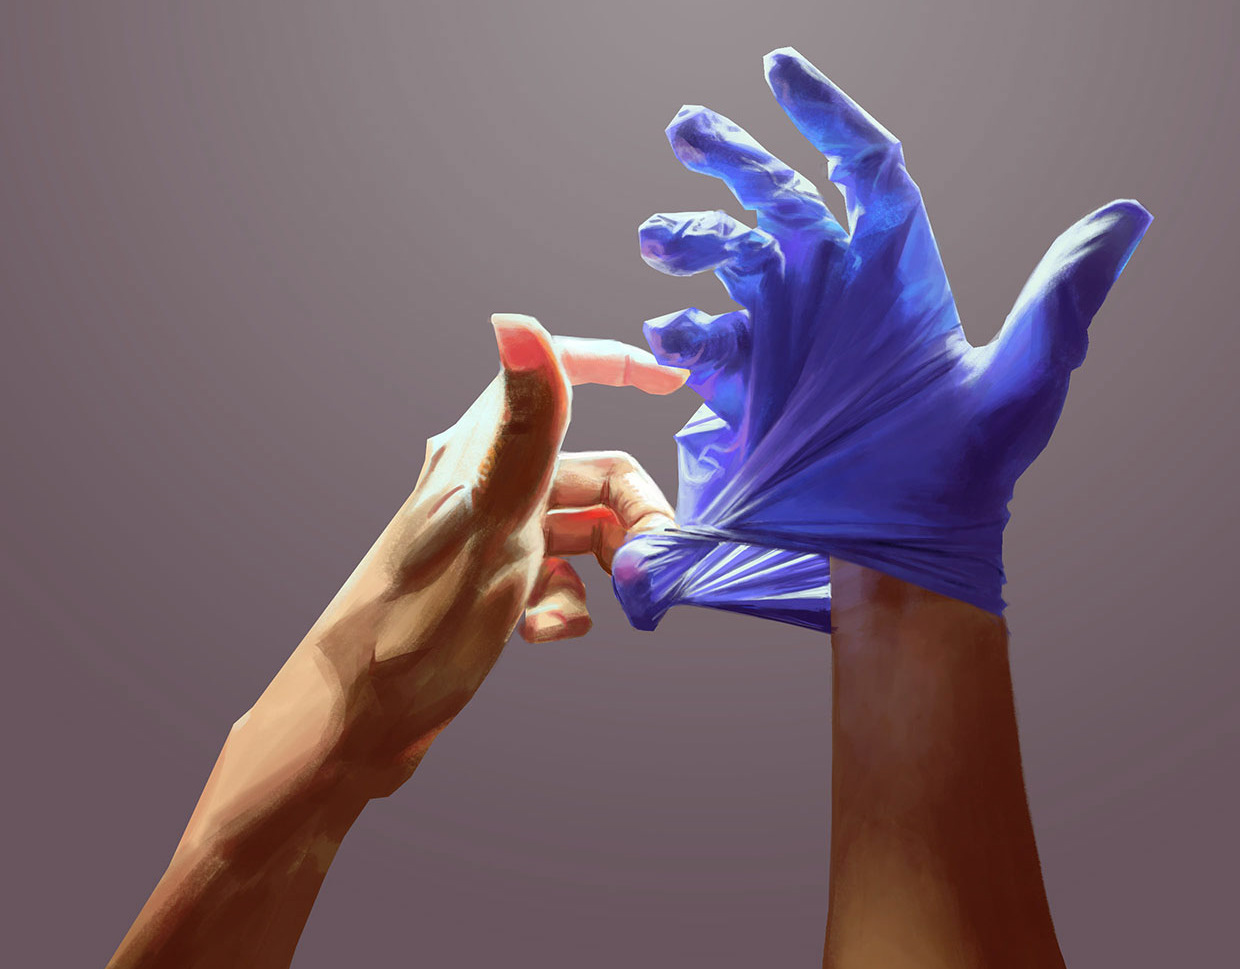
To speed up the animation process, I used set driven keys for the pinch motion and the grasp motion.
Final arm model/rig/animation - pinch & grasp
Final bone and muscle models/rig/animation - pinch & grasp
Final arm model/rig/animation - tendon transfer outcome
Final Animation